Have you ever looked down at your hands and toes, wishing for that salon-perfect finish? 💅✨ You’re not alone! Many of us dream of having beautifully manicured nails without the hefty price tag of professional services. But here’s the good news: achieving that flawless look at home is not only possible but also surprisingly easy!
Imagine transforming your tired, neglected nails into a work of art that makes you feel confident and put-together. With just a few simple steps, you can turn your at-home nail care routine from drab to fab. Whether you’re preparing for a special event or just want to pamper yourself, mastering the art of DIY manicures and pedicures can be a game-changer for your self-care routine and your wallet.
Ready to elevate your nail game? Let’s dive into the 10 easy steps that will have you flaunting picture-perfect nails in no time. From prepping your tools to maintaining that freshly polished look, we’ve got you covered with everything you need to know for a salon-worthy manicure and pedicure right in the comfort of your own home. 🏠💆♀️
Prepare Your Tools and Space
A. Gather essential manicure and pedicure supplies
Before diving into your at-home manicure and pedicure session, it’s crucial to gather all the necessary tools and products. Here’s a comprehensive list of essentials you’ll need:
| Basic Tools | Nail Care Products | Additional Items |
|---|---|---|
| Nail clippers | Nail polish remover | Cotton pads |
| Nail file | Base coat | Towels |
| Cuticle pusher | Nail polish | Hand/foot cream |
| Nail buffer | Top coat | Cuticle oil |
Don’t forget to include a foot scrub and Epsom salt for your pedicure. Having everything within reach will make your DIY salon experience much smoother and more enjoyable.
B. Create a comfortable, well-lit workspace
Setting up the right environment is key to a successful manicure and pedicure. Follow these tips:
- Choose a well-ventilated area to avoid strong nail polish fumes
- Ensure ample lighting to see your nails clearly
- Use a comfortable chair with good back support
- Place a small table or tray nearby to hold your supplies
- Consider using a cushioned mat for foot comfort during your pedicure
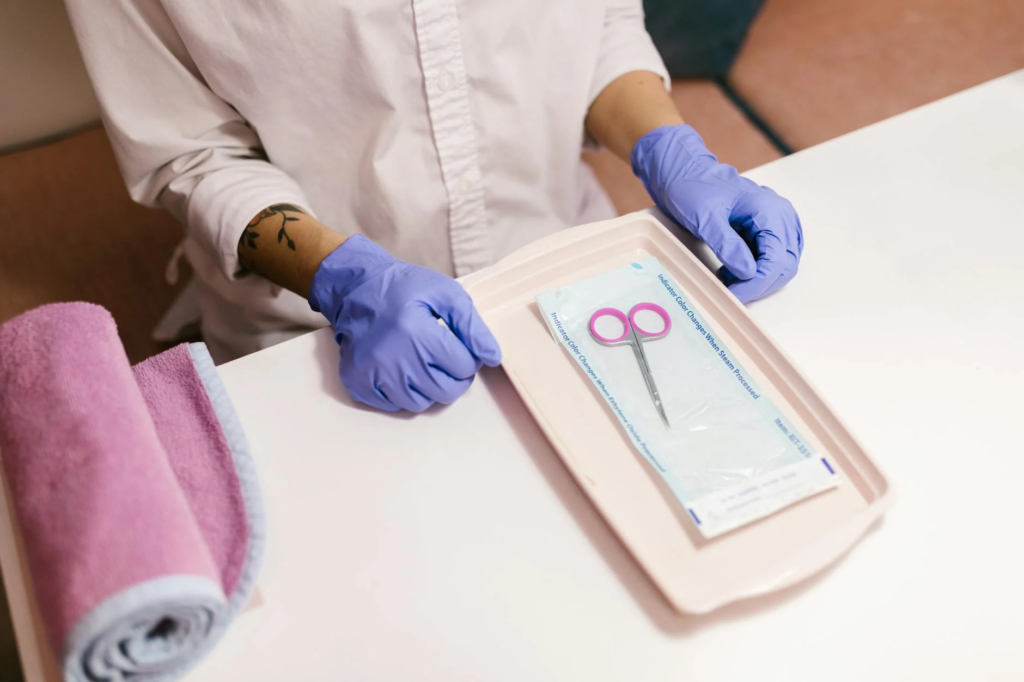
C. Ensure proper hygiene and sanitization
Maintaining cleanliness is crucial for a healthy nail care routine. Here are some essential steps:
- Wash your hands and feet thoroughly before starting
- Clean all tools with soap and warm water
- Disinfect metal tools with rubbing alcohol
- Use disposable items like emery boards only once
- Keep your workspace tidy and organized
By following these hygiene practices, you’ll create a salon-worthy experience at home while prioritizing your nail health and overall well-being.
Soak and Soften
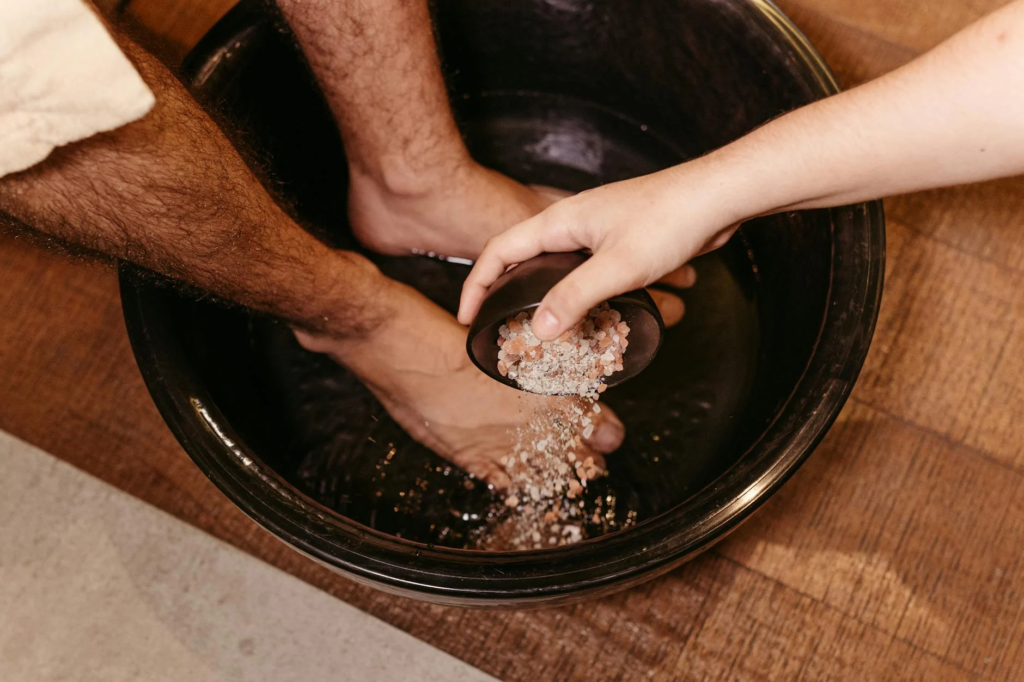
A. Prepare a warm, soothing foot bath
To begin your at-home spa experience, start by preparing a warm, soothing foot bath. Fill a basin or tub with comfortably warm water, ensuring it’s deep enough to cover your ankles. The ideal temperature should be between 95-100°F (35-38°C) to promote relaxation and improve circulation.
| Water Temperature | Benefits |
|---|---|
| 95-100°F (35-38°C) | Relaxation, improved circulation |
| 100-105°F (38-40°C) | Muscle relaxation, pain relief |
| 105-110°F (40-43°C) | Deep tissue penetration (use with caution) |
B. Add moisturizing and aromatherapy elements
Enhance your foot bath by adding moisturizing and aromatherapy elements:
- 1/2 cup Epsom salt: Soothes muscles and reduces inflammation
- 1/4 cup coconut oil: Moisturizes and softens skin
- 5-10 drops of essential oils: Lavender for relaxation, peppermint for invigoration
Stir the mixture gently to ensure even distribution of the ingredients.
C. Soak hands and feet for optimal softening
Immerse your hands and feet in the prepared bath for 10-15 minutes. This duration allows for optimal softening of the skin and nails, making them more pliable for the subsequent steps in your manicure and pedicure routine.
Benefits of soaking:
- Softens calluses and dry skin
- Relaxes muscles and reduces tension
- Improves blood circulation
- Prepares nails for shaping and cuticle care
Now that your hands and feet are perfectly softened, you’re ready to move on to shaping your nails in the next step of your DIY manicure and pedicure journey.
Shape Your Nails
Choose the right nail shape for your hands and feet
Selecting the ideal nail shape is crucial for enhancing the appearance of your hands and feet. Consider your nail bed width, finger length, and personal style when deciding. Here’s a quick guide to popular nail shapes:
| Shape | Description | Best For |
|---|---|---|
| Round | Curved edges | Short fingers |
| Square | Straight edges | Long fingers |
| Oval | Elongated round | Most versatile |
| Almond | Tapered sides | Slender fingers |
| Stiletto | Sharp point | Bold style |
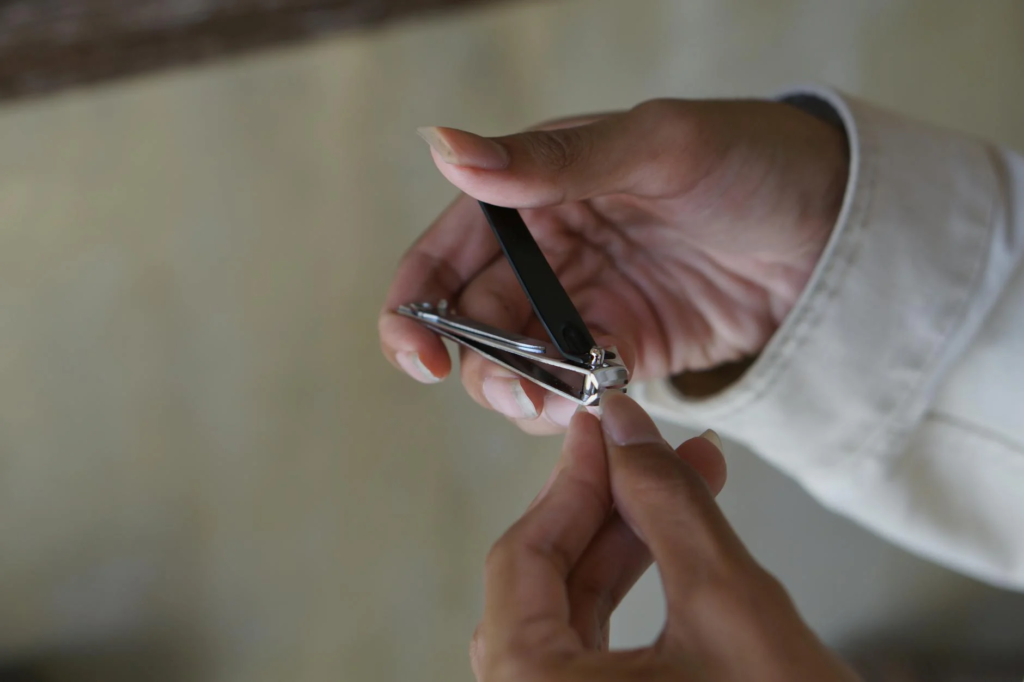
Trim nails to desired length
Once you’ve chosen your preferred shape, it’s time to trim. For fingernails, aim for a length that aligns with your fingertips. Toenails should be cut straight across to prevent ingrown nails. Use a high-quality nail clipper for a clean cut.
Tips for trimming:
- Cut in small increments to avoid over-trimming
- Trim nails when dry for more precise results
- Use specialized clippers for toenails
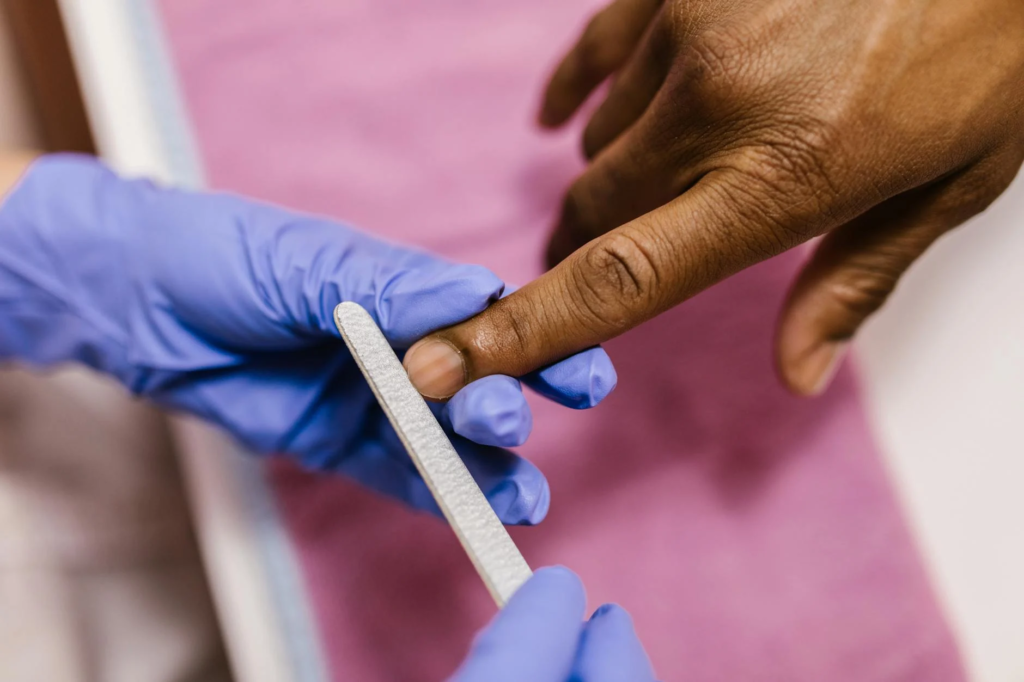
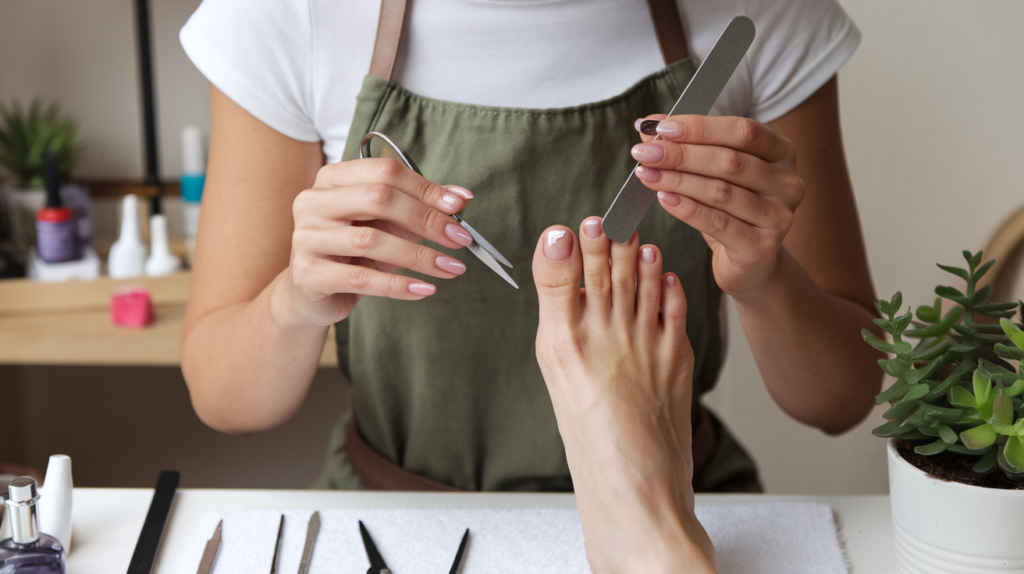
File and smooth nail edges
After trimming, file your nails to perfect the shape and smooth any rough edges. Follow these steps for best results:
- Choose a fine-grit file for natural nails
- File in one direction to prevent splitting
- Hold the file at a 45-degree angle to the nail edge
- Use gentle strokes to avoid damaging the nail
- Finish by buffing the nail surface for a smooth, even texture
Remember, well-shaped nails are the foundation of a beautiful manicure and pedicure. Take your time with this step to achieve salon-worthy results at home.
Tackle Cuticles

Now that we’ve shaped our nails, it’s time to focus on an often-overlooked aspect of nail care: the cuticles. Proper cuticle care is essential for maintaining healthy nails and preventing infections.
Apply cuticle remover
Start by applying a high-quality cuticle remover to soften the skin around your nails. This step is crucial for both your manicure and pedicure routine. Here’s a quick guide:
- Choose a clean beauty cuticle remover
- Apply a small amount around each nail
- Wait for 2-3 minutes to allow the product to work
Gently push back cuticles
After the cuticle remover has softened the skin, it’s time to push back the cuticles. This process helps maintain nail health and creates a clean canvas for polish application. Follow these steps:
- Use a wooden or metal cuticle pusher
- Gently push back the softened cuticles
- Work in small, circular motions
- Be careful not to apply too much pressure
Trim hangnails carefully
Lastly, address any hangnails you may have. Hangnails can be painful and unsightly, but proper care can prevent them from becoming a problem.
| Do’s | Don’ts |
|---|---|
| Use clean, sharp nail scissors | Pull or bite hangnails |
| Trim close to the skin | Cut too deep into the skin |
| Apply cuticle oil after trimming | Ignore inflamed or infected areas |
Remember, healthy cuticles contribute to overall nail health and appearance. Regular care using eco-friendly products can help you maintain salon-worthy nails at home.
Exfoliate for Smoothness
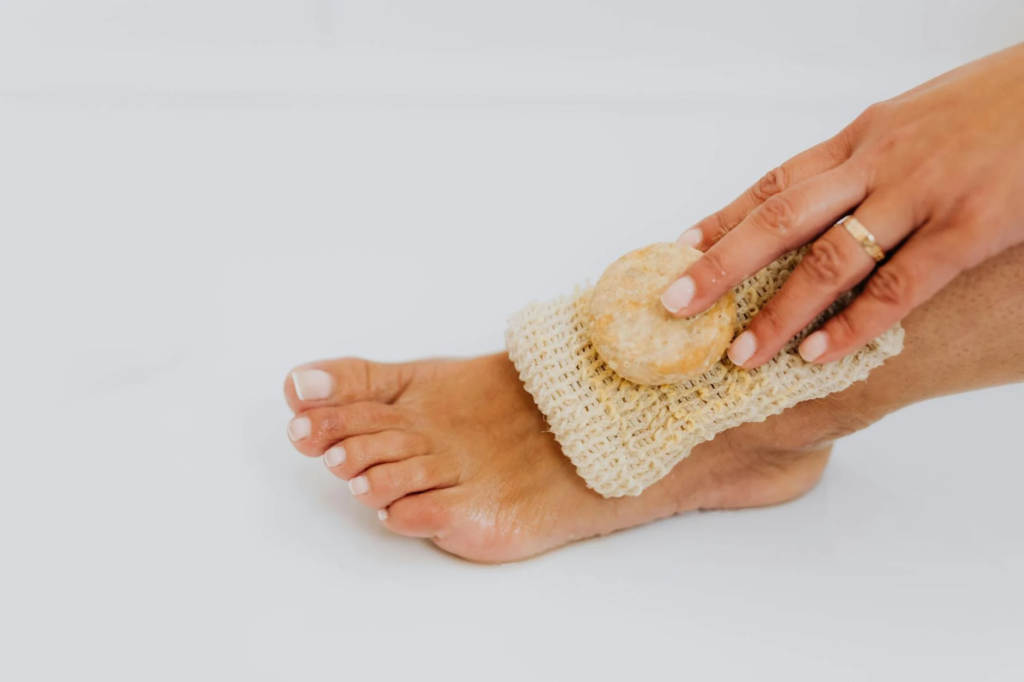
Choose appropriate exfoliating products
When it comes to exfoliating your hands and feet, selecting the right products is crucial. Opt for gentle scrubs that contain natural ingredients like sugar, salt, or finely ground fruit pits. These elements effectively remove dead skin cells without causing irritation. For sensitive skin, consider enzyme-based exfoliants that dissolve dead skin cells chemically.
| Product Type | Key Ingredients | Benefits |
|---|---|---|
| Physical Scrub | Sugar, Salt, Pumice | Immediate results, tactile sensation |
| Chemical Exfoliant | AHAs, BHAs, Fruit Enzymes | Gentle, suitable for sensitive skin |
| Natural Scrub | Coffee grounds, Oatmeal | Eco-friendly, nourishing |
Massage hands and feet with scrub
Apply the chosen exfoliant to damp skin and massage in circular motions. Focus on rough areas like heels, knuckles, and the sides of your fingers. This process not only removes dead skin but also improves circulation, promoting healthier skin and nails.
Tips for effective exfoliation:
- Use light pressure to avoid irritation
- Spend extra time on callused areas
- Don’t forget the often-neglected spaces between fingers and toes
Rinse thoroughly and pat dry
After exfoliating, rinse your hands and feet with lukewarm water until all traces of the scrub are gone. Gently pat your skin dry with a soft towel. Avoid rubbing, as this can cause irritation to freshly exfoliated skin. Your skin should now feel smooth and refreshed, ready for the next step in your manicure and pedicure routine.
Moisturize and Massage
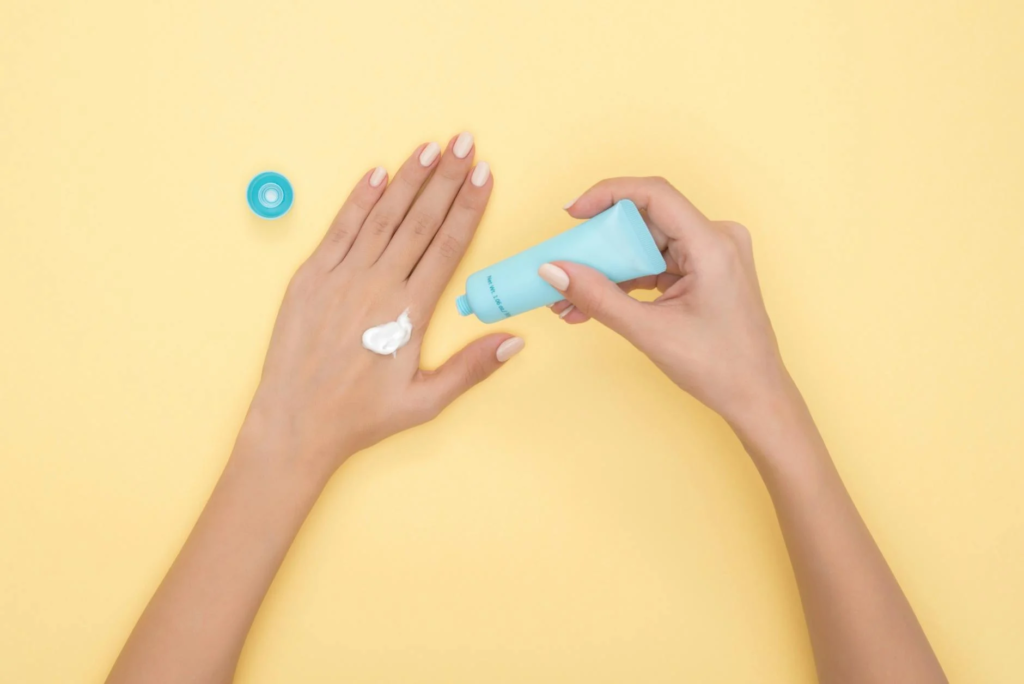
Apply rich hand and foot cream
After exfoliating, it’s crucial to replenish moisture to your hands and feet. Choose a rich, nourishing cream that contains ingredients like shea butter, cocoa butter, or natural oils. These moisturizers will help restore hydration and leave your skin feeling soft and supple.
| Ingredient | Benefits |
|---|---|
| Shea Butter | Deep moisturization, anti-inflammatory |
| Cocoa Butter | Improves skin elasticity, rich in antioxidants |
| Jojoba Oil | Mimics natural skin oils, easily absorbed |
| Vitamin E | Promotes healing, protects skin cells |
Perform a relaxing massage technique
Massaging your hands and feet not only feels amazing but also improves circulation and reduces tension. Here’s a simple technique to try:
- Apply gentle pressure with your thumbs, working in circular motions
- Focus on the palms and soles, where tension often accumulates
- Gently pull and stretch each finger and toe
- Use long, sweeping strokes along the tops of hands and feet
Pay extra attention to dry areas
Some areas of our hands and feet are prone to dryness and calluses. Give these spots extra care:
- Heels and balls of the feet
- Knuckles and cuticles
- Between fingers and toes
Apply a thicker layer of moisturizer to these areas and gently massage it in. For extremely dry spots, consider using a specialized balm or overnight treatment for intense hydration.
Now that your skin is moisturized and relaxed, you’re ready to move on to prepping your nails for polish application.
Prep Nails for Polish
Clean nails with polish remover
Before applying any polish, it’s crucial to start with a clean canvas. Use a high-quality, acetone-free nail polish remover to thoroughly clean your nails. This step removes any oils, residue, or old polish that might interfere with the new application.
Tips for effective cleaning:
- Use lint-free cotton pads to avoid leaving fibers on your nails
- Gently swipe each nail multiple times to ensure complete cleansing
- Pay extra attention to the corners and edges of your nails
Apply base coat for long-lasting color
A base coat is essential for a perfect manicure or pedicure. It creates a smooth surface for the polish and helps prevent staining of your natural nails.
Benefits of using a base coat:
| Benefit | Description |
|---|---|
| Adhesion | Improves polish adherence to nails |
| Protection | Prevents nail discoloration |
| Longevity | Extends the life of your manicure |
| Smoothness | Creates an even surface for color application |
Allow base coat to dry completely
Patience is key when it comes to a flawless nail finish. After applying the base coat, allow it to dry completely before moving on to the color application. This typically takes about 1-2 minutes.
Drying tips:
- Use a fan or cool air setting on a hair dryer to speed up drying time
- Avoid touching or bumping your nails during this crucial drying period
- Consider using a quick-dry base coat for faster results
Now that your nails are properly prepped, you’re ready to move on to the exciting part – applying your chosen nail color!
Apply Nail Color

A. Choose complementary colors for hands and feet
Selecting the right nail colors can elevate your manicure and pedicure to new heights. Consider these tips for choosing complementary colors:
- Match your skin tone
- Coordinate with your wardrobe
- Embrace seasonal trends
Here’s a quick guide to help you choose:
| Skin Tone | Recommended Colors |
|---|---|
| Fair | Pastels, corals, light pinks |
| Medium | Burgundy, deep reds, nude shades |
| Dark | Bold blues, purples, metallic shades |
B. Apply thin, even coats of polish
Achieving a flawless finish starts with proper application technique:
- Start with a base coat to protect your nails
- Apply the first coat of color in thin, even strokes
- Allow each coat to dry completely before applying the next
- Add a second coat for full coverage and rich color
- Finish with a top coat for shine and longevity
C. Use proper brush strokes for a professional finish
Master these brush strokes for salon-worthy results:
- Begin with a center stroke
- Follow with strokes on either side
- Cap the free edge to prevent chipping
Remember to let your nails dry completely between coats and after finishing. This patience will result in a longer-lasting, more beautiful manicure and pedicure. With practice, you’ll perfect your technique and achieve stunning results every time.
Seal and Protect

Apply a high-quality top coat
A high-quality top coat is essential for sealing your manicure and pedicure, providing a glossy finish and protecting your nail color. Choose a top coat that offers chip resistance and UV protection for longer-lasting results. Apply a thin, even layer over your dried nail color, making sure to cap the free edge of your nails.
Let nails dry completely
Patience is key when it comes to drying your nails. Allow at least 20-30 minutes for your nails to dry completely. Avoid touching anything or exposing your nails to water during this time. To test if your nails are dry, gently touch two nails together – if they feel tacky or stick, they need more drying time.
Use quick-dry drops or sprays for faster results
For those short on time, quick-dry drops or sprays can be a game-changer. These products help speed up the drying process and can reduce drying time by up to 50%. Apply according to the product instructions, typically 1-2 minutes after your top coat.
| Product Type | Drying Time | Benefits |
|---|---|---|
| Regular Top Coat | 20-30 minutes | Affordable, widely available |
| Quick-Dry Top Coat | 5-10 minutes | Faster drying, may be less durable |
| Quick-Dry Drops/Sprays | 1-5 minutes | Fastest drying, can be used with any top coat |
Tips for maintaining your sealed and protected nails:
- Wear gloves when doing household chores
- Apply cuticle oil daily to keep nails hydrated
- Avoid using your nails as tools
- Reapply top coat every 2-3 days for extended wear
Now that your nails are sealed and protected, you’re ready to show off your perfect manicure and pedicure. In the next section, we’ll discuss how to maintain your beautiful nails for long-lasting results.
Maintain Your Manicure and Pedicure
Touch up chips promptly
To maintain your perfect manicure and pedicure, addressing chips quickly is crucial. Keep a matching nail polish handy for quick touch-ups. Apply a small amount to the chipped area, let it dry, and seal with a top coat. This prevents further damage and extends the life of your manicure.
Reapply top coat every few days
Regularly reapplying a top coat is key to preserving your nail color and shine. Here’s a simple routine to follow:
- Clean nails with nail polish remover
- Apply a thin layer of top coat
- Allow to dry completely
- Repeat every 2-3 days
Keep hands and feet moisturized
Proper hydration is essential for healthy nails and surrounding skin. Use a high-quality moisturizer daily, paying special attention to cuticles. Here’s a comparison of moisturizing options:
| Method | Frequency | Benefits |
|---|---|---|
| Hand cream | 2-3 times daily | Quick absorption, non-greasy |
| Cuticle oil | Once daily | Targeted nourishment, promotes nail growth |
| Foot cream | Before bed | Deep hydration, softens calluses |
Schedule regular maintenance sessions
To keep your manicure and pedicure looking fresh, plan regular touch-up sessions. Whether at home or in a salon, consistent care ensures long-lasting results. Aim for maintenance every 1-2 weeks, depending on your nail growth and daily activities. During these sessions, trim, file, and reshape nails as needed, and address any cuticle overgrowth.
Now that you’ve mastered the art of maintaining your manicure and pedicure, you’ll enjoy beautiful, healthy nails for weeks to come.
Conclusion
Achieving salon-quality manicures and pedicures at home is within reach by following these simple steps. From preparing your tools to maintaining your nail care, each stage plays a crucial role in creating beautiful, healthy nails. Remember to take your time, be gentle with your hands and feet, and enjoy the self-care process.
With regular practice, you’ll perfect your technique and save both time and money. Whether you’re preparing for a special occasion or simply treating yourself, these steps will help you achieve professional-looking results. So, gather your supplies, set aside some me-time, and give yourself the pampering you deserve. Your hands and feet will thank you for the extra attention and care.


