Are you tired of the same old plain nail polish color? Want to add some flair to your nails without going to a salon? DIY nail art is the perfect solution for you! With just a few simple tools and some creativity, you can create beautiful designs on your own. In this article, we will provide you with 5 easy DIY nail art designs that you can do at home.
Supplies Needed
Before we get started with the designs, you will need some basic supplies to create DIY nail art. Here are the items that you will need:
- Nail polish of your choice
- Base coat and topcoat
- Nail art tools (dotting tools, brushes, toothpick, tape)
- Nail polish remover
- Cotton balls
Design #1: Polka Dot Nails

Polka dot nails are a classic and easy design that can be done in just a few steps.
- Start by applying a base coat to your nails to protect them from staining.
- Choose a base color and apply it to your nails. Let it dry completely.
- Using a dotting tool or toothpick, create dots on your nails with a contrasting color.
- Let the dots dry and apply a topcoat to seal in the design.
Design #2: Striped Nails

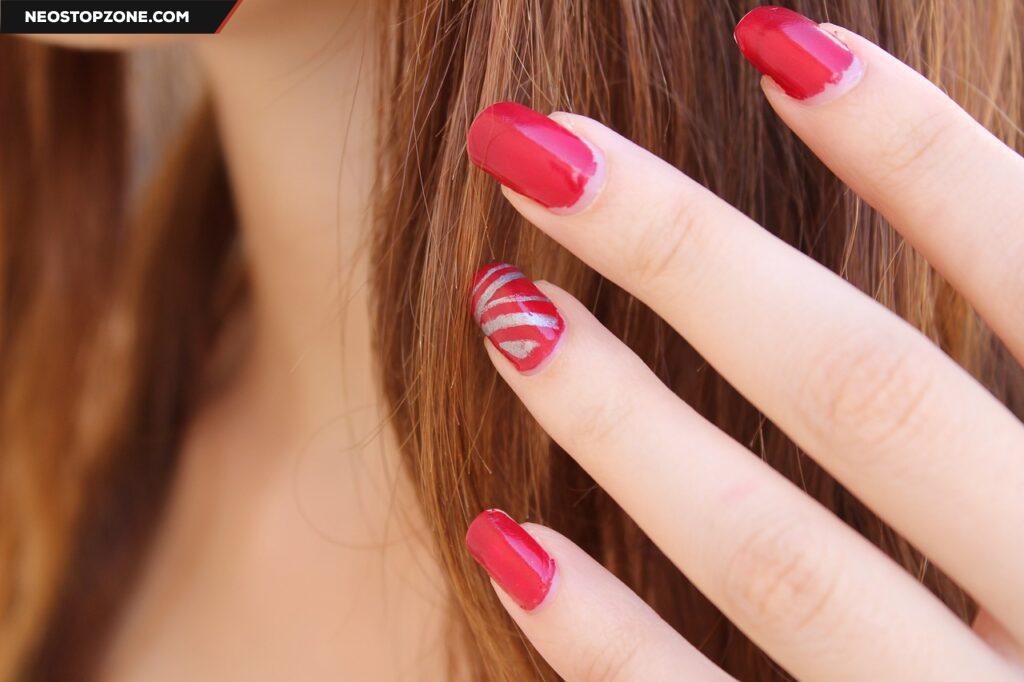
Striped nails are another simple design that can be done in a few steps.


